Welcome to the FISCHER® e-Connect manual!
For information regarding the download and installation of the application, please, click the link below.
Download and installation
Download and first startup:
To download the application, click one of the links below (it requires Android 5.0 or newer / iOS 10 or newer versions).
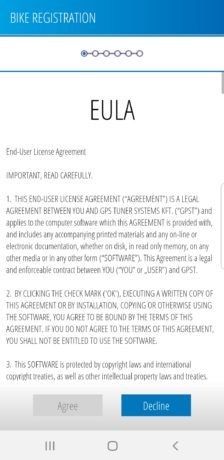
Upon the first start, before you could access the main menu, you will be taken to the EULA (End User License Agreement). Please, read it through carefully, and scroll all the way down to the bottom of the page.
Before agreeing the EULA, you will see three checkboxes: please, accept the terms of use and the privacy agreement to proceed. Tick the third checkbox if you would like to share your personal data for development purposes.
You can view the EULA any time by tapping the Paragraph button at the top right of the screen within Settings/Info.
Tap ‘Agree’ to continue.
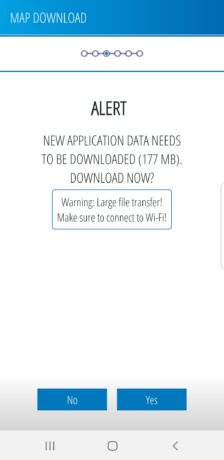
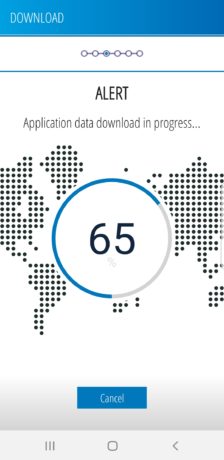
This is followed by the Welcome and the Basemap Download screens. You will have to download the basemap in order to use the application.
For this step, you will need active internet connection (in case you don’t have it, the app will prompt you to establish one).
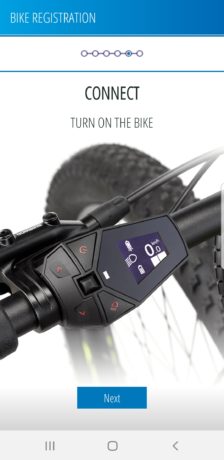
After downloading the necessary application data, if you have your location enabled, you will be prompted with the download of your country’s map. Afterwards, you will be taken to the E-Bike connection screen. You will have to connect your bicycle to be able to use the application. Turn on the E-Bike and the Bluetooth® on your phone.
Internet connection is also needed for bike activation in the app.
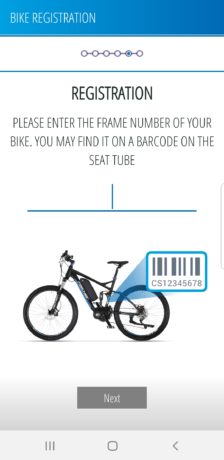
Tapping “Next” will take you to the bike registration screen. Enter the frame number of your bike and tap “Next” to start the pairing process.
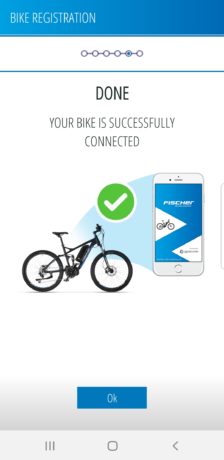
If the connection was successful, you will see a message informing you about this and you can tap the “OK” button to proceed. If the connection could not be established, the app will display a ‘Timeout’ message and you can try again. In this case, please make sure the following:
–
the entered UUID is valid
– you are close enough to the
bike;
–
the battery is properly
charged;
–
the bike (only one) is turned
on.
If these don’t provide a solution, you can also try re-enabling the Bluetooth® or restarting the application / phone.
Profile data:
In this step, you can enter some information about yourself and your bicycle. Set your bike type, its weight and your personal data, such as:
–
Weight
– Age
– Gender
– Maximum heart
rate
– Resting heart rate
We use this data for more accurate calculations, e.g. calories burnt. You can also set up your routing preferences for later navigation.
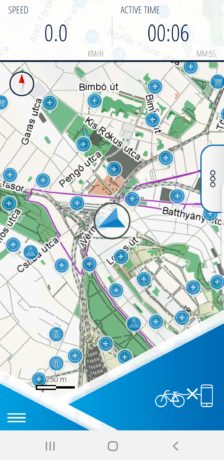
When you are done with the startup sequence, you will be taken to the Map screen of the application.
Use the Main Menu button at the bottom left of the screen to access the Main Menu.
If your phone’s location is switched on, your current position will be shown on the map with an arrow.
The panes (computers) at the top of the screen (hidden while there is no navigation in progress) can be modified to display the preferred information. To do this, tap and hold the pane you would like to change and select the computer you would like to see displayed. You can pan the computers to the left to reveal the altitude graph of the current route during navigation.
Map screen and navigation - further information
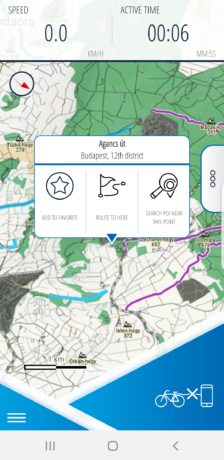
Long tapping the map will open a pop-up menu showing the selected location’s address, the option to add it as a favorite, the possibility to plan a route using it as the target destination, and a button for searching for POIs around it.
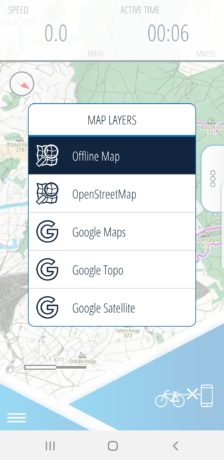
The Map Layers menu allows you to change the map type (to open it, tap the Map layers button within the Action Overflow menu). Besides the Offline Map, the application supports online layers, such as OpenStreetMap, Google Maps, Google Topo, and Google Satellite.
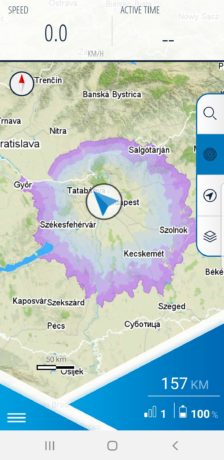
When you are connected to an E-Bike, the assist level, the range + RHA blob (this is the distance the bike can cover at the current assist level), and the battery status (meaning the current charge level) are displayed on the map screen.
Additional features – Action Overflow menu
The “Search” button directs you to the Search screen, where you can access either the online or offline search.
The “RHA” button turns on/off the purple RHA blot, which indicates the range you can cover, taking the current terrain, altitude data, battery status, and your individual riding habits into account.
The “Jump to current location” button locks on to the arrow and orients the map according to its movement. You can also use the ‘Orient to north’ button to fix the map orientation to the North.
Route preview:
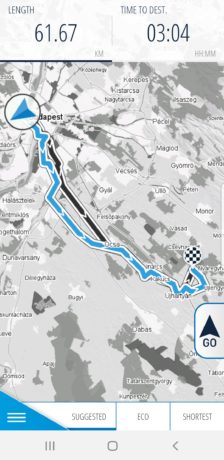
This screen presents the planned route from start to end point, and the available options to fine-tune it – you can choose from “Suggested”, “Eco”, and “Shortest” modes.
If you have a connected E-Bike, the app will notify you if you don’t have enough charge in your battery to reach the desired destination.
The route options will be shown in black and the selected option will be highlighted in blue. Swiping the two computers at the top of the screen to the left will display the altitude graph for the highlighted route. Tapping “Go” again will start the navigation with the selected parameters.
When you set up a route and you start the navigation, you’ll be given turn instructions that show you where to alter your course during the trip. These are arrows that show up on the phone along with the remaining distance to the turn.
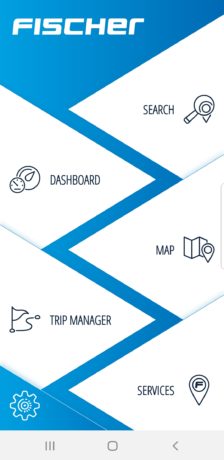
Getting started (Main Menu)
“Search button – gives you access to the Search screen to look up places or addresses both online and offline.
“Dashboard” button – Can be used to access the Record, Bike Dashboard, and Computers screens.
“Map” button – opens the Map screen (see section above).
Trip manager” button – gives you access to your imported/recorded trips and favorite locations.
“Services” button – displays the existing Fischer E-Bike services with their address and distance from your current location.
“Settings” button – opens the Settings screen so you can set your preferences, download maps, or connect to E-bike/sensors.
The Bluetooth® word mark and logos are registered trademarks owned by Bluetooth SIG, Inc.


