Home > Dashboard
Use the tabs to navigate the page – just as you would within the app!
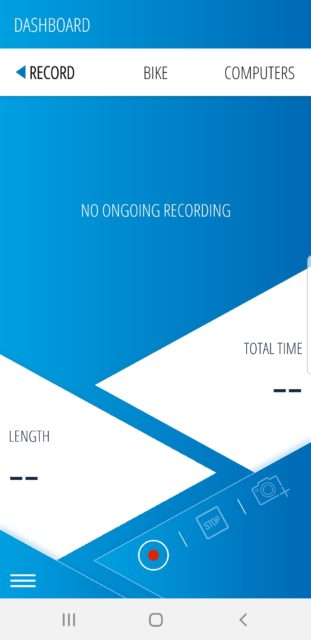
The Record tab is the first one to be displayed upon opening the Dashboard menu.
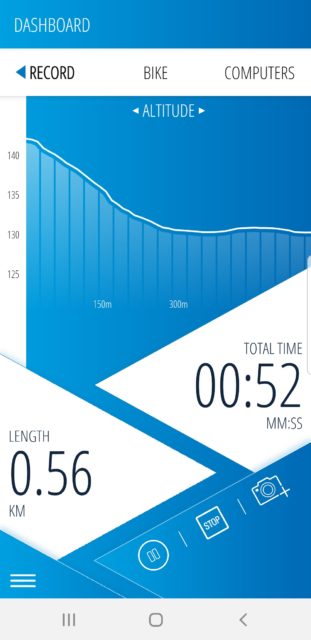
The function lets you track your efforts during a workout/trip. It will log your activity and store all related sensor data. Start recording by tapping the bottom left button (red dot). You can pause the process by tapping the same button again. To stop the recording and save the data, tap the center (“Stop”) button.
Using the bottom right button (photo), you can add your current location as a Favorite. During an active recording, this button lets you add a Point of Interest (POI) as a Photo POI (these are pictures related to the location you add them at – they will form part of the recorded track and appear as POIs with a camera icon on the track details screen).
While recording, tap the altitude graph to display a speed graph instead (if heart rate data is available, the app can also display a HR graph).
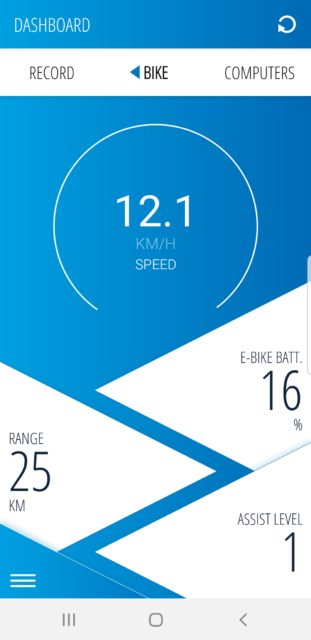
This screen displays a complete dashboard where you can monitor all data related to the bike and its performance.
You can track the speed, battery state, the remaining power, the assist level the motor is helping you with and the current range of the bike.
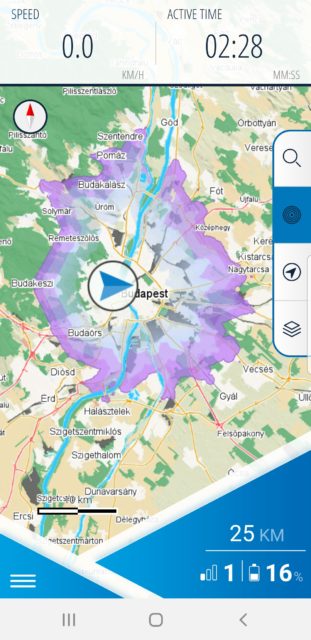
If you prefer to see the map while riding, the range can be displayed as a heat map. The app will display an RHA (Reductive Height Analysis) button that shows the range contours of the connected bike. This feature uses the bike’s data and the surrounding terrain to determine a precise range.
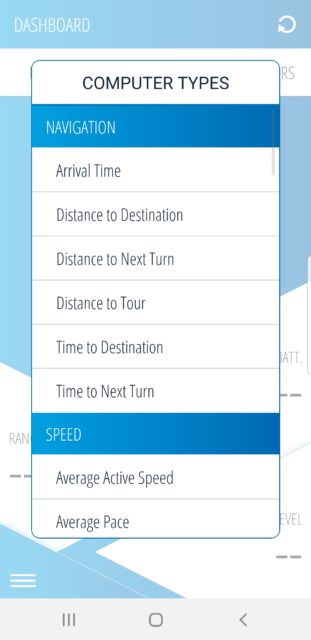
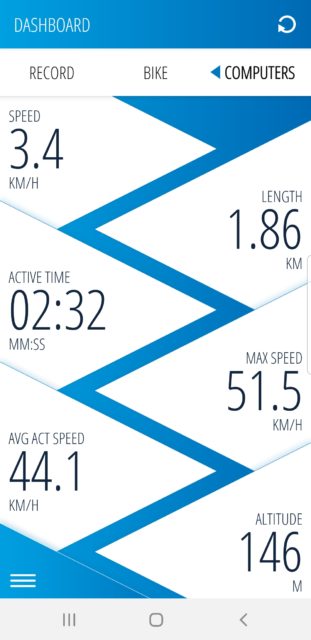
The triangles at the bottom of the “Bike” tab can be modified to display your preferred information. To do this, tap and hold the triangle you would like to change and select the computer you would like to see displayed.
